Copyright © 2026 GBMF, LLC d/b/a Artiva Tile, All rights reserved.

Copyright © 2026 GBMF, LLC d/b/a Artiva Tile, All rights reserved.


How long will your bathroom be under construction? For many homeowners, that question matters as much as the tile, vanity, or shower design. You want to know when work starts, what happens along the way, and who is responsible for bringing the room to completion.
Based on completed Artiva Tile projects, the on-site work for a complete bathroom remodel has taken approximately 10–20 working days, from demolition through final installation. One primary bathroom remodel in Heron Bay, Parkland, was completed in about 16 working days.
Those figures provide a practical reference for planning. Your schedule depends on the agreed scope, selections, and project conditions. Consultation, 3D planning, and arrangements made before construction need their own place on the calendar.
This guide explains our bathroom remodeling process for private homes in Miami and South Florida, including how we plan the work, protect the home, and finish with deep cleaning.
For a complete renovation comparable to our recent projects, 10–20 working days is a useful starting point for discussing the construction period. It is a reference from our own work, rather than an average for every bathroom renovation in Miami.
There are two periods to distinguish:
A working-day count also differs from a calendar-day count. For example, 15–20 working days would span three to four weeks on a five-day workweek. Your actual calendar should identify the working schedule and any intervals that apply to your project.
Ask for the planned start and completion dates, as well as the point at which the bathroom will return to use. Do not assume that the total project duration is also an exact statement of shower downtime.
Artiva Tile completed a full primary bathroom remodel in the Heron Bay community in Parkland in approximately 16 working days. That project is one real example behind the timeline discussed here.
Another completed primary bathroom renovation, which included tiling all the walls, took approximately 15 working days from demolition through installation. Other completed projects have fallen within roughly 15–20 working days.
These examples help make the conversation concrete. The next step is to review your bathroom and establish the work that belongs in your proposal. A past completion time should inform that discussion without replacing a schedule for your own home.
One of the most common causes of delays in our experience is a change of direction after installation has begun. A homeowner may realize that the tile color, format, or overall look is different from what they wanted.
By that point, an adjustment can affect work already underway. The best opportunity to resolve those preferences is before construction.
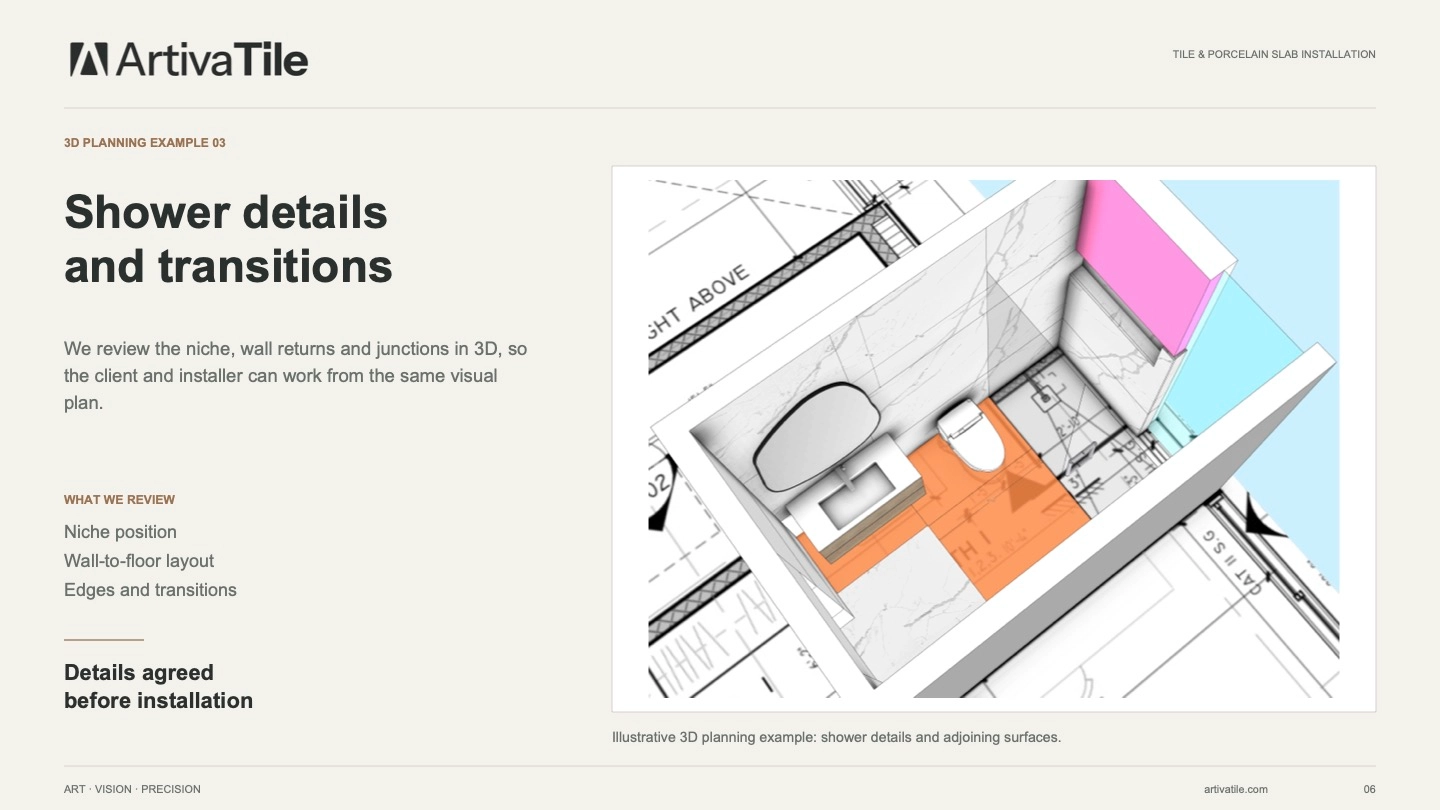
We begin with 3D planning so you can review the proposed result in advance. That gives you a chance to consider the tile, layout, and visual relationships before installation starts. It makes the decision process easier and helps protect the agreed timeline.
Use the design review to ask specific questions: Does this tile format suit the room? Is the color right for the overall design? Does the planned bathroom feel like the result you want to live with?
For more detail, see our guide to 3D bathroom tile layout planning.
A complete bathroom renovation involves more than tile installation. Our role is to take responsibility for the project from beginning to end, including purchasing the tile and coordinating the elements needed to finish the room.
Depending on the agreed design, that scope can include:
You do not need to arrange separate purchases and installations for each of those elements yourself. We manage them as parts of the overall remodel.
During planning, review the specific selections and their place in the schedule. Custom glass, cabinetry, and countertops belong in that conversation. Their arrangements should be established for your project rather than assumed from a general article timeline.
A bathroom remodeling timeline also needs to account for how the team will work inside your house. The route to the bathroom and the surrounding interior deserve attention before demolition begins.
Depending on the work involved, our protection measures can include driveway protection, entryway protection, and hallway protection. We use protective rubber mats where appropriate to help protect existing flooring from impacts and moving materials.
We also cover the areas and items that need protection and maintain care for the interior and furniture throughout the renovation. The exact setup depends on the home and the work being performed.
Protecting the property and delivering the work on time are central to how we approach a remodel. They belong in the project plan alongside the visible bathroom finishes.
Once on-site work begins, the project moves through demolition, preparation, installation, and finishing according to the agreed scope. The sequence needs to bring together the bathroom's different components.
That includes coordinating the tile work with the vanity, countertop, mirrors, shower glass, and painting that are part of your design. A room with tile installed can still have important work remaining before it feels complete.
There is no universal day-by-day schedule for every bathroom. Instead, discuss the milestones for your room: what work begins first, which installations follow, and what needs to be finished before the next activity can proceed.
If you want to change a selection once work is underway, raise it before the affected installation continues. Review what needs to change and how it affects completion. The earlier the decision is resolved, the easier it is to plan around it.
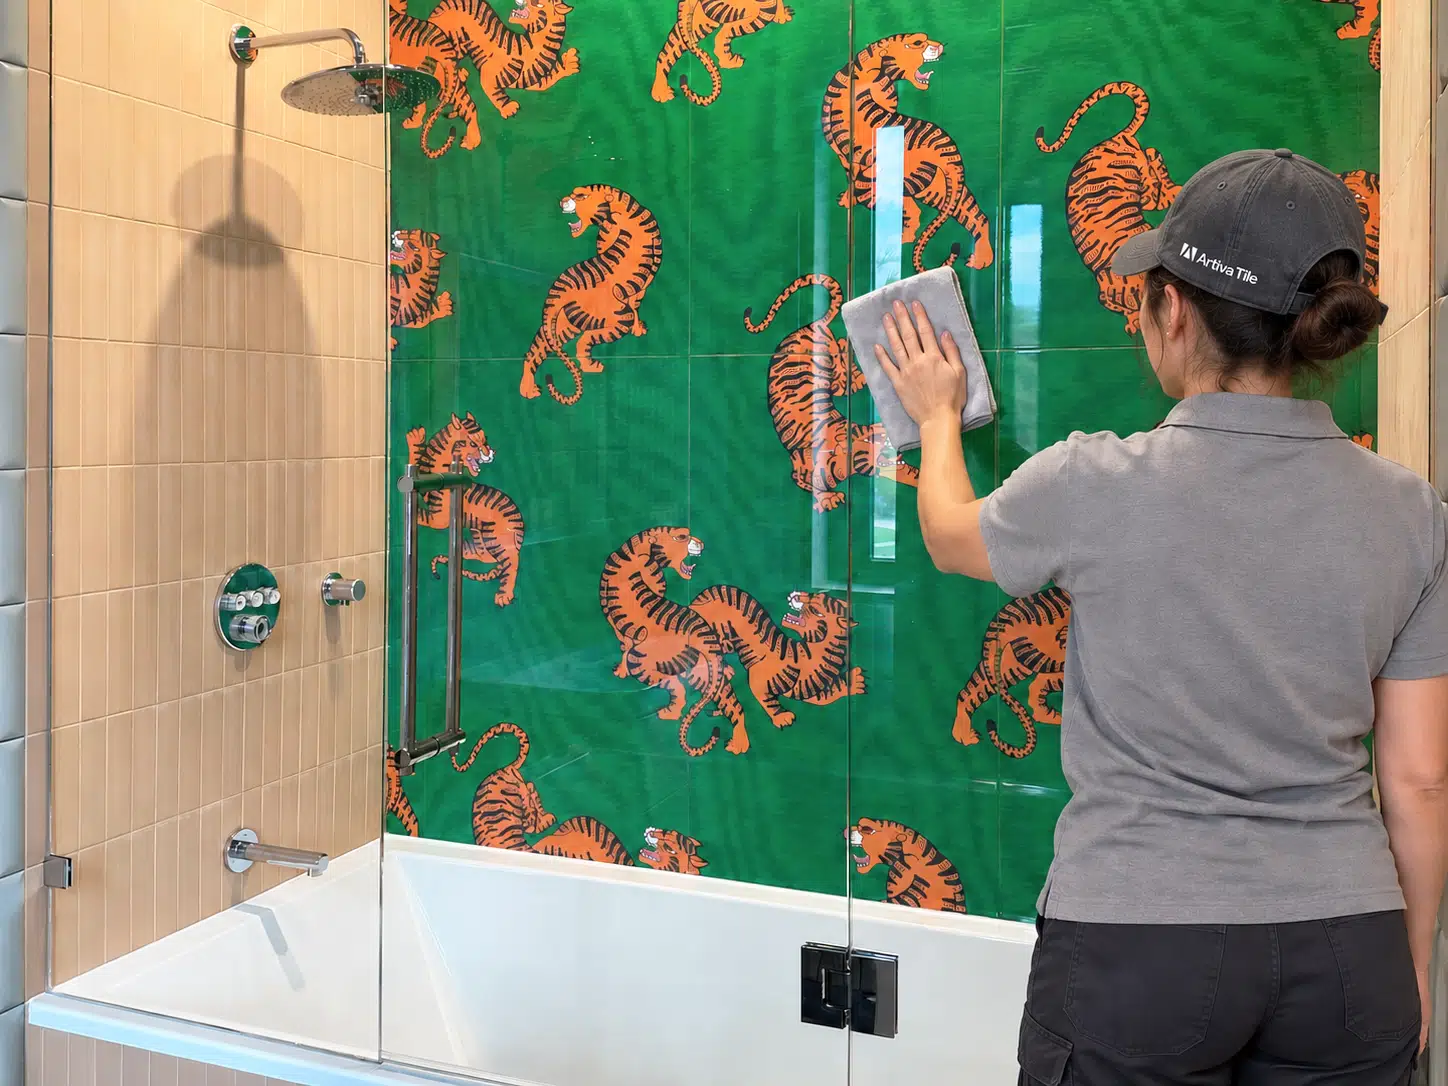
Our complete bathroom remodeling service continues through the finishing work and a final deep cleaning. The goal is to hand over a finished room that looks fresh, clean, and ready to enjoy.
Maintaining cleanliness during construction and deep cleaning at the end serve different purposes. Protection and ongoing care help us work responsibly inside your home. The final cleaning completes the presentation of the renovated bathroom.
When discussing your completion date, confirm the full scope of the handover, including the finishing work and cleanup. That gives you a clearer basis for planning your household's return to its normal routine.
The most useful decisions often happen before the first tile is installed. To help the project move forward:
This gives both you and the project team a clearer understanding of the result and the path to completion.
Completed projects have taken approximately 15–20 working days for the on-site work. A primary bathroom remodel in Heron Bay, Parkland, took about 16 working days. The schedule for your bathroom is established around its scope and conditions.
The 15–20-working-day reference describes the on-site remodeling period. Consultation, design approval, and preconstruction arrangements should be discussed separately when planning the full calendar.
We purchase the tile and handle the shower glass as part of the agreed complete-remodeling scope. Glass options can include fixed panels, custom hinged doors, and sliding doors.
In our experience, changing tile format, color, or design after installation starts is a frequent cause. Reviewing the result through 3D planning helps resolve those decisions earlier.
Depending on the project, we protect the driveway, entryway, and hallways, use protective rubber mats, and cover the areas that need it. We maintain care for the interior and furniture during the work and perform a deep cleaning at completion.
Start with your bathroom, your priorities, and a complete scope of work. We can then discuss the design, the project sequence, and a schedule for your home.
Explore Artiva Tile's complete bathroom remodeling in Miami, request a free consultation, or call (561) 800-2525.